
 One of the projects I was absolutely sure I wanted to incorporate into our wedding planning was Welcome Bags. Given that about half of our guests were traveling by plane and staying in hotels, we wanted to give them a little refresh and a warm welcome to Arizona. As with most of my other projects, I took to Pinterest to find some inspiration. I came across this article from Wedding Party and picked up some ideas. I also like this article from The Knot.
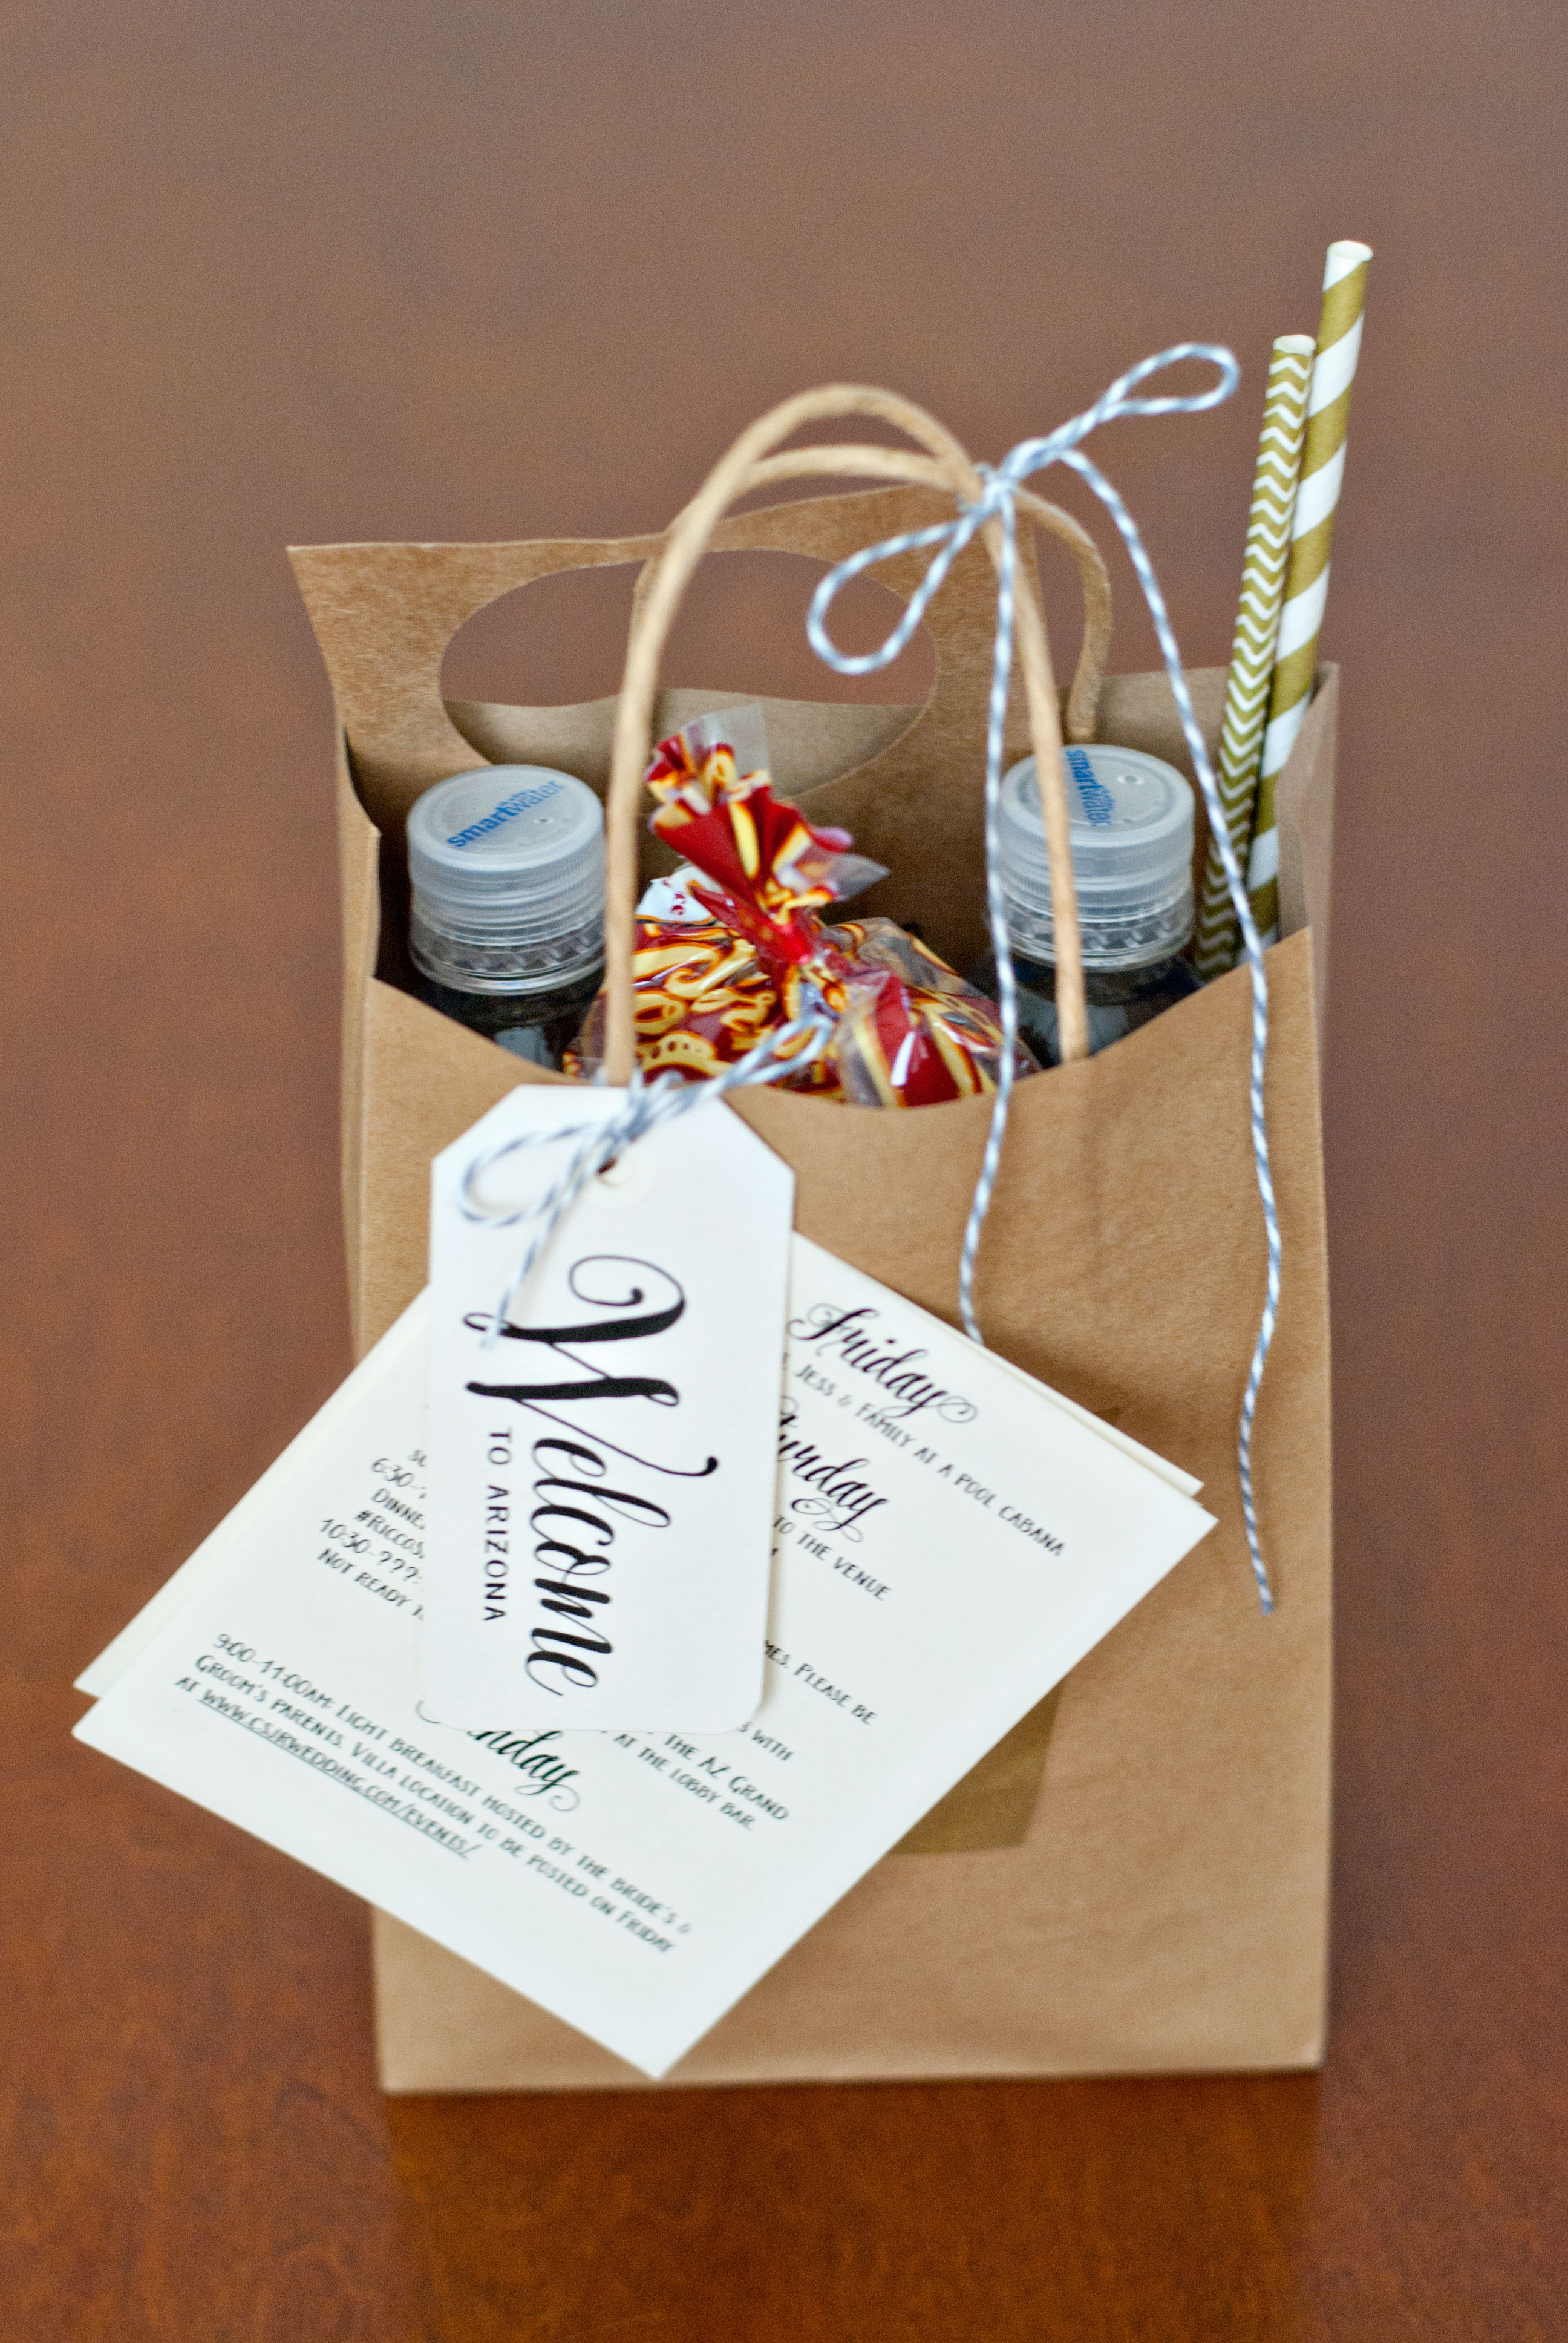
I wanted to include water – this is the desert after all – as well as something to snack on and some other useful items.
Here is the final list of items that we included:

- Two bottles of water (from Costco)
- One bag of Zebra Popcornolois popcorn (from Costco)
- One small paper bag
of first aid items, including bandaids, antacids, and tylennol (individually wrapped medicine from Walgreens travel section)
- One pack of gum
- One homemade door hanger (free printable download)
- Two paper straws
– ordered from Amazon.
- Hanging tags that included a weekend itinerary, dining recommendations, and other important information. You can purchase customizable templates from my Etsy shop
- Bakers Twine
to tie the tags on the bag handle. I used this twine for several other wedding projects too, including my invitations and DIY Olive Oil Wedding Favors.
First order of business was choosing a bag. I purchased these from Amazon: Fun Express Brown Gift Bags (12 Pack)
 I wanted to incorporate Arizona into the bags somehow given that these bags were going mostly to out-of-town guests. I used my KNK Zing to cut out an outline of the state of Arizona in thick card stock. I then used that as a stencil to spray paint on the bags. It helps to wear inexpensive gloves. You will need to hold the stencil flat against the bag in multiple places. My mom helped hold the stencil down while I wielded the spray paint. I used a sharpie to draw a small heart on the state for Phoenix.
The most time consuming part of making these bags was actually creating the tags.
***UPDATE*** Purchase tag templates at my Etsy Shop
Please note, templates are similar but not exactly the same as tags shown in this post.
I wanted everyone to know about all the fun events we had planned and provide some “inside” information on Phoenix for all of my out-of-town friends and family. I designed three different information cards using Adobe InDesign. Since I was printing these myself, I sized them to be 4.25″ x 5.5″ or a quarter of an 8.5″x11″ sheet of card stock. The first tag is a timeline of events for the entire weekend. The second tag is a list of restaurant recommendations. My husband and I LOVE to go to restaurants and Phoenix is full of excellent choices. We took a selection of our favorites and provided tips for our favorite dishes at those places. The third tag is just a miscellaneous list of important information. My favorite part of this tag is the QR code and short link to the Google Map we created with all the important places (like the hotel, venue, and airport).


***UPDATE*** Purchase tag templates at my Etsy Shop

I simply punched a hole in the top corner of each tag through which to run the bakers twine to tie onto the bag. I forgot to mention I also created a Welcome to Arizona tag that lays on the front of the others. I bought pre-made tags at Michael’s for these and printed (using my cheap Canon IP4200 printer) directly on them. I created a custom paper size to be able to print directly on these. Contact me if you want more information on this. NOTE: If you purchased the tag templates from my Etsy Shop, you do not need to purchase pre-made hang tags from the craft store. You can use regular 8.5×11″ card stock to print the Welcome Tag template from which you can cut out the tags.
I also created a custom door hanger for people to put on their hotel room door. Since I was also printing these myself, I sized them to be 4.25″x11″ – essentially one half of an 8.5″x11″ piece of card stock. I designed this in In Design also. I purchased a 3″ punch from Hobby Lobby to create a uniform circle for the door knob/handle. UPDATE: Free door hanger download and tutorial
Assembly was pretty simple. We put bandaids and individually wrapped medication in small paper bags (also from Amazon: Mini Gift Bags 2.5″X4″ 25/Pkg Kraft (6-Pack)) on which I stamped a little red cross. Then we just put everything else inside!


